1] Excavation, base preparation, e servizio planning
Uncoordinated penetrations that force last‑minute cutting through insulation o membranes.
Weak perimeter detailing (the “edge bridge”] that undermines otherwise excellent envelope design.
Poor slab flatness that increases installation time e causes alignment problems per modular walls.
- Is an insulated Swedish slab always better than a traditional strip foundation?
- Not always. Soil conditions, groundwater, structural loads, e local regulations matter. But per energy‑efficient buildings, USS can simplify thermal bridge control e provide a comfortable, high‑performance base.
- Can USS be used con case modulari?
- Yes. in fact, a flat, insulated slab con pre‑planned penetrations is one of the best foundations per modular costruzione, reducing on‑site uncertainty e speeding up installation.
Do you always need underfloor heating in the slab? treat penetrations as part of the thermal envelope strategy. Keep critical connections inside the insulated zone whenever possible.
Next in the series:
airtightness e thermal bridge‑free junctions (slab‑to‑wall, window installation in the insulation layer, e envelope sealing strategy].
Danica servizio route
Turn this idea into a buildable progetto.
Energy-efficient homes, envelope details, thermal bridges e comfort.
Depending on site conditions, local practice, and radon risk, a membrane may be used to manage moisture and gas ingress. Whatever system is chosen, the key is Continua a leggerePassive House · May 31, 2026
Passive House vs Standard Villa: What Changes in Design e costruzione QA
Passive House · May 29, 2026
HRV Ventilation in Energy-Efficient Homes: What Owners Need a Understand
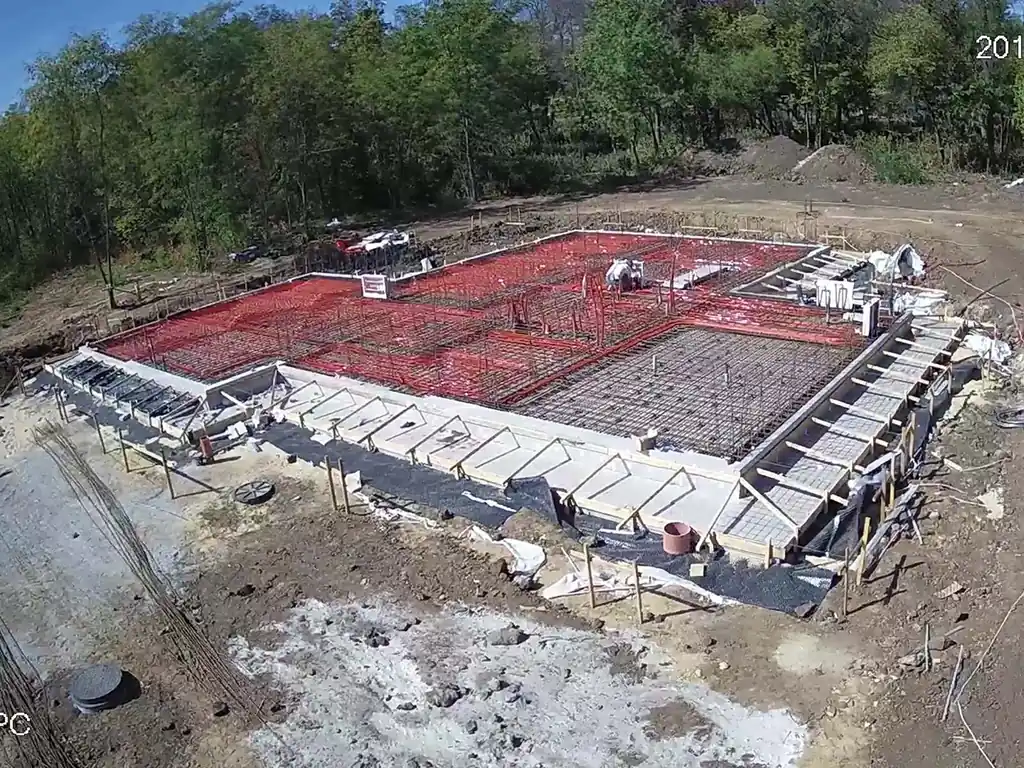
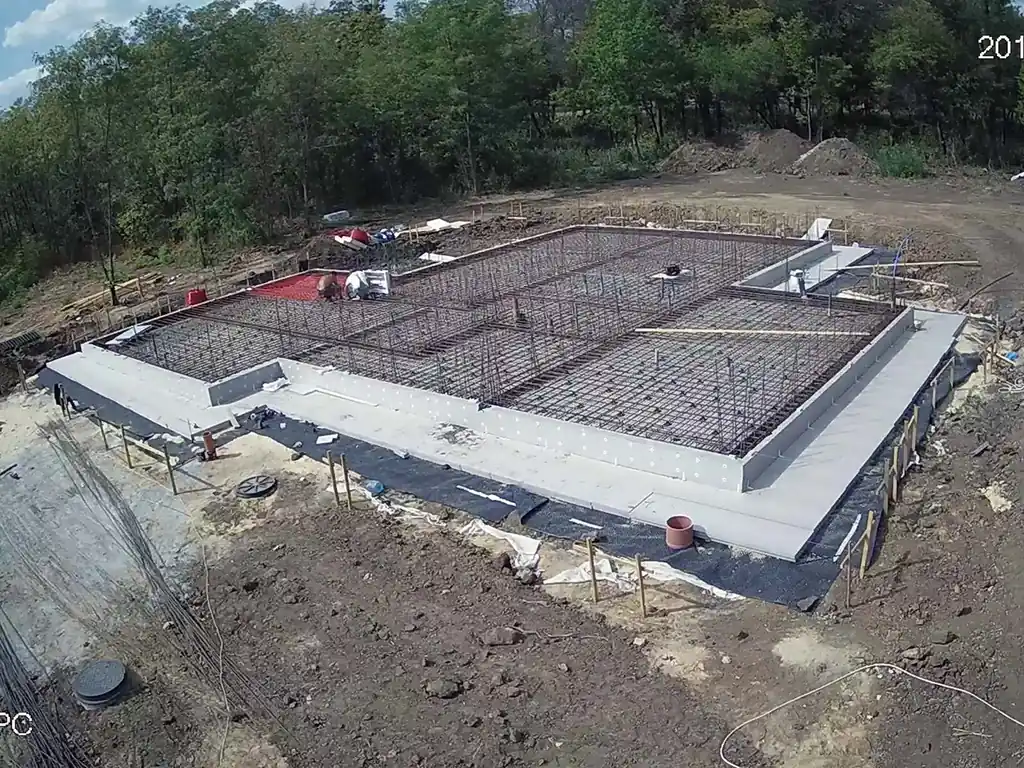
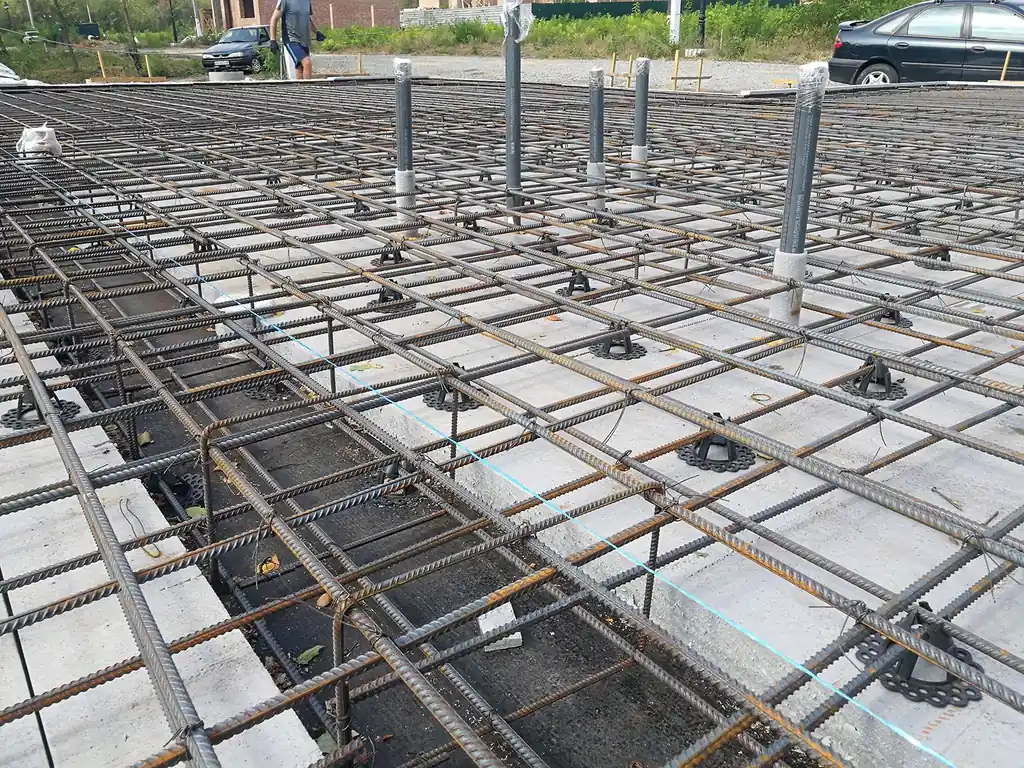
Concrete is poured in a controlled sequence, vibrated as required, and leveled to tight tolerances. For modular construction, slab flatness is not a luxury — it is a requirement. Protect the slab, follow curing guidance, and avoid early overloads.
Start con accurate setting‑out e a base that can be compacted e leveled. At this stage you also lock the locations for:
- Thermal Bridges in Mediterranean Homes: Where Comfort e Energy Are Lost insulation under slab + insulated edge + clear path for wall insulation connection.
- Architettura · Interior design · Ristrutturazione · Energy-efficient homes all sleeves and pipes sealed; no “open gaps” later filled with foam as a substitute for planning.
- Moisture/radon strategy: selected system is continuous and compatible with other layers.
- Flatness: verify tolerances before wall installation or module delivery.
- Documentation: photos of hidden layers (insulation joints, membrane overlaps, sealing details] for future reference.
plumbing stacks e drains,
- Insulation gaps and unsealed joints that create cold bridges and moisture risks.
- Uncoordinated penetrations that force last‑minute cutting through insulation or membranes.
- Weak perimeter detailing (the “edge bridge”] that undermines otherwise excellent envelope design.
- Poor slab flatness that increases installation time and causes alignment problems for modular walls.
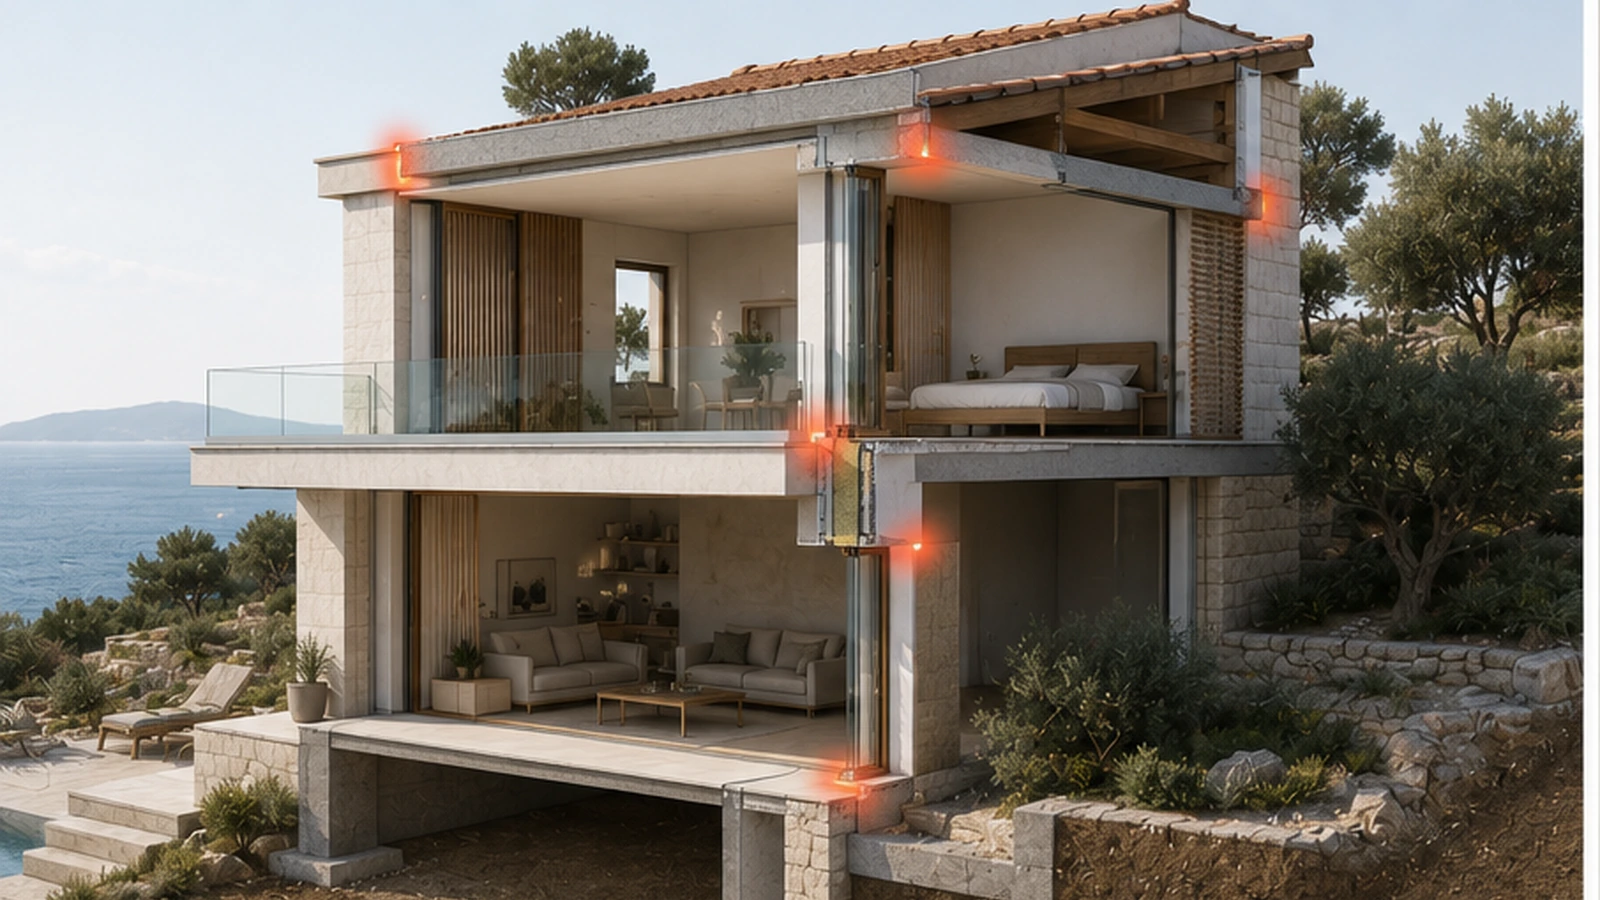
Modern Coastal style captures the essence of seaside living through breezy, light-filled interiors.
Is an insulated Swedish slab always better than a traditional strip foundation?
Not always. Soil conditions, groundwater, structural loads, and local regulations matter. But for energy‑efficient buildings, USS can simplify thermal bridge control and provide a comfortable, high‑performance base.
Can USS be used with modular homes?
Yes. In fact, a flat, insulated slab with pre‑planned penetrations is one of the best foundations for modular construction, reducing on‑site uncertainty and speeding up installation.
Do you always need underfloor heating in the slab?
No. Many Passive House projects heat via ventilation or compact hydronic systems. Underfloor heating is a comfort choice and can be efficient when designed for low temperatures.
Next in the series: airtightness and thermal bridge‑free junctions (slab‑to‑wall, window installation in the insulation layer, and envelope sealing strategy].