


Feb 2, 2026 · Passive House · 3 min read
Outboard (or “warm”] window installation places the window unit in the insulation plane, not deep inside the structural wall. The objective is clear: minimize
Passive House![Window-to-wall junction thermal-bridge analysis — triple-glazed frame mounted in insulation with airtight tapes and insulated sill; isotherm plots showing ψ=0.0031 and ψ=0.0371 W/(m·K].](/assets/uploads/stories/outboard-window-installation-mounting-windows-in-the-insulation-layer-without-thermal-bridges/01-outboard-window-installation-mounting-windows-in-window-to-wall-junction-thermal-bridge-ana.webp)
Danica service route
Energy-efficient homes, envelope details, thermal bridges and comfort.
 Passive House · May 31, 2026Passive House vs Standard Villa: What Changes in Design and Construction QA
 Passive House · May 29, 2026HRV Ventilation in Energy-Efficient Homes: What Owners Need to Understand
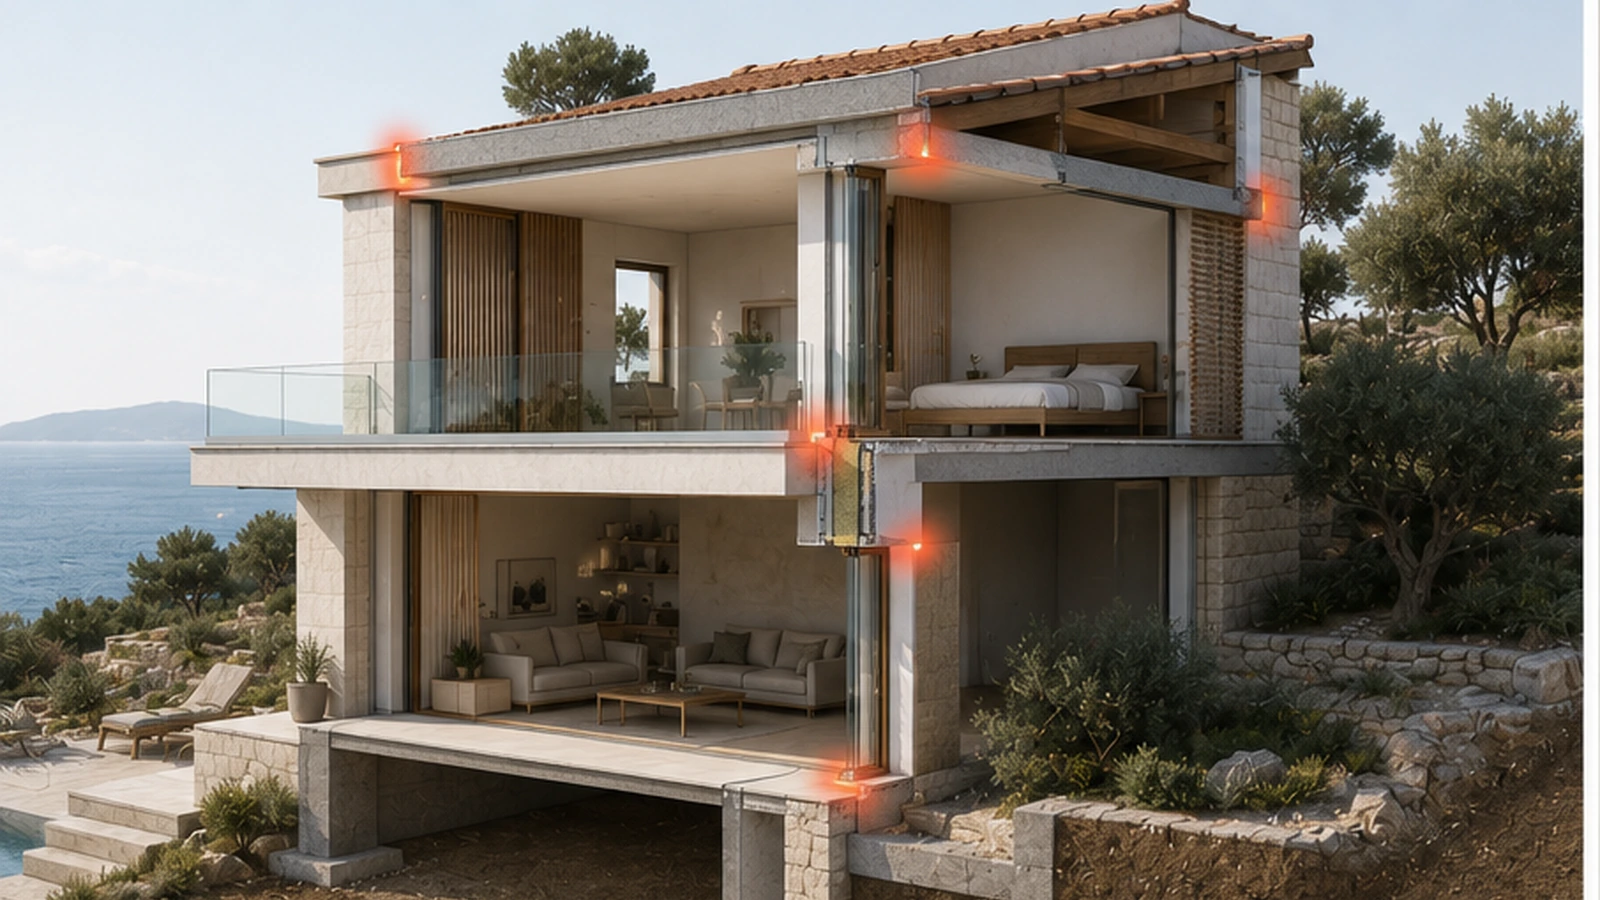 Passive House · May 27, 2026Thermal Bridges in Mediterranean Homes: Where Comfort and Energy Are Lost